Demonstrations in Optics
Tips and Tricks for a Low Cost Optical Bench
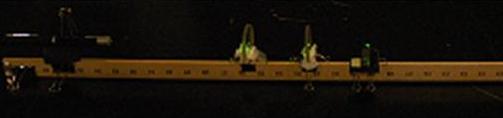
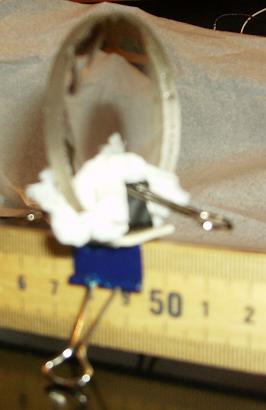
Figure 1: Optical bench for Poisson's Spot
Materials
For more information on where to obtain materials, please visit our equipment page.
- Optical Bench
- meter stick
- 4 1 1/4" binder clips
- 7+ 3/4" binder clips
- double sided foam tape
- 3 block magnets (.395" x .875" x 1.875")
- 2 20cm concave focal lenses
- 5mW green laser
- white board or screen
- white piece of paper
- Poisson's Spot 1
- Poisson's Spot 2
- 2 microscope slides
- tape
- .9mm lead shot (size #9)
- Hair Diffraction
- index card
- scissors
- hair
- tape
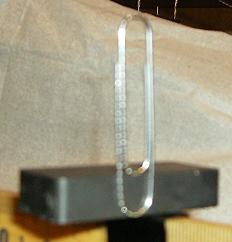
- Paper Clip
Method
- Optical Bench
- Place a large binder clip at each end to create a stand.
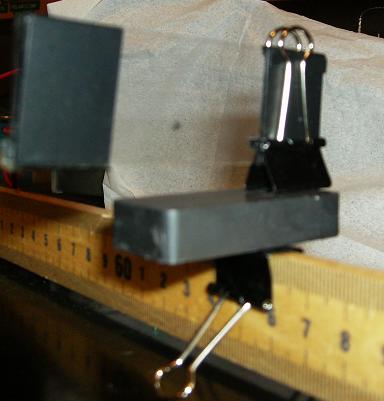
- Place a binder clip on the other edge of the ruler between 90cm and 93cm. Above this, place two magnet.
- Place a small binder clip between 64cm and 66cm and place one magnet above this.
- After the appropriate lenses are placed on the apparatus, place the object to be observed on the 64cm to 66cm clip.
- Place a laser in a large binder clip so the 'on' button is pressed in. Place this above the two magnets at the 90cm to 93cm clip.
- When the device is complete, aim it toward a white board or screen.
- Lens Mount
- Place a lens (preferably concave) in a small binder clip.
- Place a second clip on the ruler where the lens will be placed.
- Use a piece of double sided foam tape to tape the two binder clips together.
- Repeat this if you are using more than one lens. The centers of the lenses should be on the same axis.
- Poisson's Spot 1
- Place a map pin in the side of a small binder clip.
- We used two lenses, both of 20cm focal lengths. One was placed between 59cm and 61cm, the other was placed between 47.5cm and 49.5cm.
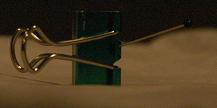
- Poisson's Spot 2
- Place a lead shot between two microscope slides.
- Tape the two sides of the slide.
- Clip a small binder clip on the bottom.
- We used two lenses, both of 20cm focal lengths. One was placed between 59cm and 61cm, the other was placed between 47.5cm and 49.5cm.
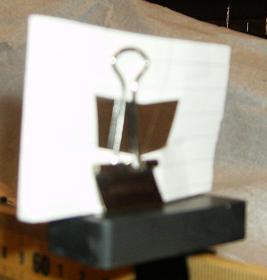
- Hair Diffraction
- Cut an index card in half or in quarters. Take one piece, discard the rest, and cut the center from it.
- Tape a piece of hair across the center of the card. Place a clip at he bottom of the card.
- We used no lenses for this demonstration.
- Paper clip
- Place the paper clip on the side of the magnet.
- We used two lenses, both of 20cm focal lengths. One was placed between 59cm and 61cm, the other was placed between 47.5cm and 49.5cm.
Tips
- Aligning the aparatus can be tricky. First shine the laser through the center of any lenses used. After the laser and lenses are aligned it's easiest to align the object to be observed.
- Though red lasers may work, a green laser will give better results.
- Any lens could be used. Their purpose is to expand the light so that a larger image will be displayed. We used no lenses for the hair, and two 20cm focal length lenses for Poisson's Spot. We also had success with a single 60cm focal length lens.
- This can also be accomplished by moving the apparatus further from the board.
- We used .395in x .875in x 1.875in magnets. We found that they stuck to the binder clips well, and allowed for the right spacing to align the apparatus.
- Make sure that the lenses are clean and unscratched. The presence of dirt or scratches will distort the final image.
- If the laser is needed for long periods of time, D batteries can be used. See an explanation below.
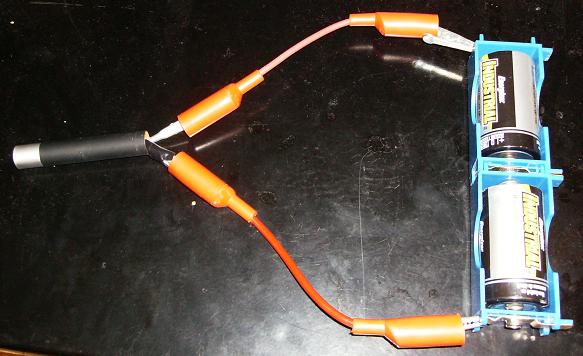
D Battery set-up
- Attach two D batteries, either with holders or electrical tape. Attach a wire to each end. Alligator clips work best with the laser.
- Open up the laser, use only the front end where the laser emits light. Clip one wire to the spring in the center of the laser, and the other to the edge of the laser. Use electrical tape so nothing else is touched.
- Place several binder clips on the front of the laser. This will act as a heat sink so the laser does not over heat.
- This will extend the life of the laser up to a day.
Demonstrations in Optics